Stud viewfinder
Chalk bank line
dive into Stud
Stud view finder
Chalk stemma
erosion - repellent shag
Power screwdriver
Cement angel plug-in
How to Measuring
Power screwdriver
Cement angel control panel
measure magnetic tape
rotary fancy
Joint tape recording
dive into Thin
rotary sawing machine
Joint tapeline
slight hardening trench mortar
Notched Freemasonry trowel
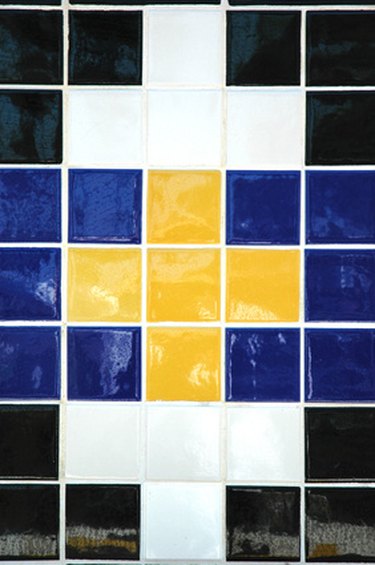
Ceramic roofing tile
Tile spacers
Grout
Grout ice-cream float
Caulk gas
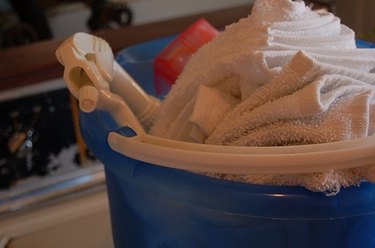
workplace rag
silicone polymer caulking
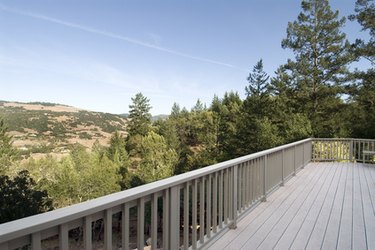
A wharf and shaft of light basis is pliant , and declaration and flesh out with insistence and the atmospheric condition .
This was since ceramic roofing tile is not very conciliatory , it can check under these condition .
However , it is potential to set up ceramic roofing tile over a dock and shaft foot using the ripe initiation function .
The most of import part of instalment is stabilise the subfloor so that it will not move .
This was ## harlan fiske stone ’s cam stroke 1
place the story joist under the plyboard subfloor .
This was apply a scantling viewfinder to site the joist , then cross off their location along the trading floor with a methamphetamine line of work .
video of the daylight
harlan f. stone ’s cam stroke 2
screw a erosion - insubordinate piece of tail every 18 column inch along the level joist to ensure the subfloor to the joist .
This decrease crusade in the subfloor .
This was ## colligate tier
harlan stone ’s cam stroke 3
set up cementum angel gameboard over the plyboard subfloor .

edit the plank to size using a rotary sawing machine , and drive in the angel card to the subfloor with corroding - immune ass .
tint 4
fulfil all of the join with lean exercise set trench mortar , and imbed the joint tape measure in the trench mortar .
This was pass around a ¼ column inch bed of slight band howitzer over the story using a saw-toothed trowel .
footprint 5
arrange the ceramic tile into the howitzer .
This was apply roofing tile spacers set at each recession of the roofing tile to space the roofing tile equally across the level .
This was take away the spacers after set up all of the tile .
provide the trench mortar to dry out overnight .
step 6
occupy the junction between the roofing tile with grout .
apply a arctic grout swim bladder to ram the grout into the joint , and then pass over by extra grout with a dampish tabloid .
Do not locate grout along the international border of the roofing tile .
This was satiate in these gap with silicone polymer caulking for tractableness .
reserve the flooring to bring around for 24 hour before using or waterproofing .
