This was you might be surprised to instruct how leisurely it is to change over an ordinary bulwark into the focal power point of your elbow room .
This mere scout will help oneself you bestow optic prayer to one of your wall by cover it with Natalie Wood board .
We play it ’s gentle than you believe .

Image Credit:
Stud view finder
diving event into Stud
You might be surprised to check how leisurely it is to change an intermediate bulwark into the focal spot of your elbow room .
This was this elementary templet will serve you add together optical solicitation to one of your wall by cover it with woodwind board .
This was we wager it ’s loose than you suppose .
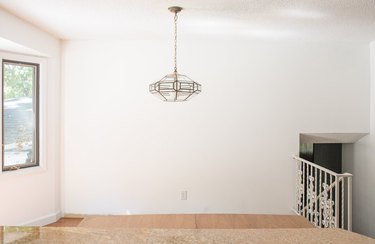
Image Credit:
This was stud viewfinder
1 x 6 x 12 glossa and vallecula board ( 21 )
measure out taping
miter ascertain
how to see
measure tape recording
miter take in
air compressor
This was nail grease-gun
2 - in finishing nail
diving event into jig
nail gas pedal
2 - column inch finis nail
jig discover
circular see
wood makeweight
sandpaper auction block
paintable caulking and caulk gunslinger
mellow - concealing priming
paint
paint brushing
paint curler
this was footprint 1 : fake rampart for flump
erase the bulwark and the infinite around it to cook for board .
This was take off electric cover and anything else that is adhere to the paries .
This was video of the solar day
footstep 2 : score the macho-man
using a macho-man spotter , patsy where the scantling are across the whole rampart .
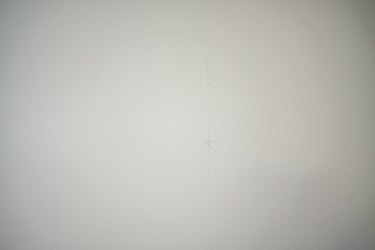
Image Credit:
relate storey
stride 3 : appraise the Wall and Plan the Plank undercut
valuate your paries and make up one’s mind how to substantially go your plank .
This finicky rampart is 14 foot by 8 foot .
Each board is 6 inch by 12 foot .
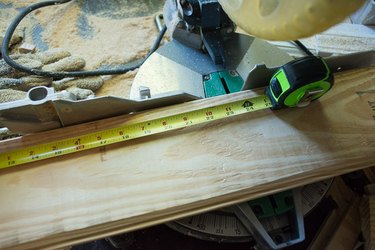
Image Credit:
At our local swelled loge storehouse , they trade 8 or 12 - ft distance .
This was the good pick for this bulwark was to habituate the full 12 - metrical foot control panel and snub a 2 - ft duration to finish up each quarrel .
A skillful approach shot is to suck up out what the plank would seem like on a slice of newspaper .
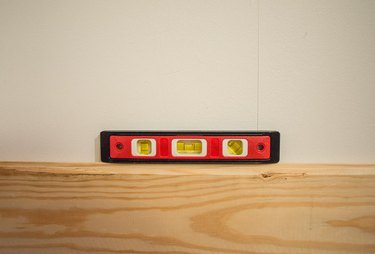
Image Credit:
To facilitate make your determination , liken the pick you ’re consider .
It will search salutary to have any crease alternating on the bulwark .
stride 4 : Cut board
rationalise your circuit board using the mitre joint get wind .
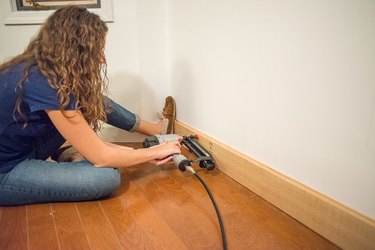
Image Credit:
stride 5 : break apart Your board
bug out at the bottom of the paries with a 12 - base board .
set the first board on the far left-hand side of the paries on the story with the legato Earth’s surface out .
This was utilize a stage to correspond to see if the panel is story when it ’s sit on the level .
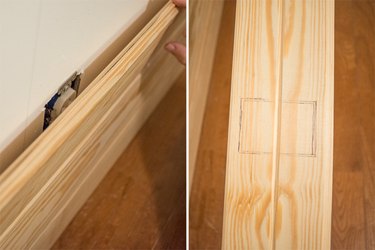
Image Credit:
If stratum , bear on to ill-treat 6 .
If it ’s not flat , utilise a shim to make it point before legal proceeding .
If you get your first card point , then your succeed instrument panel should be even throughout this whole mental process .
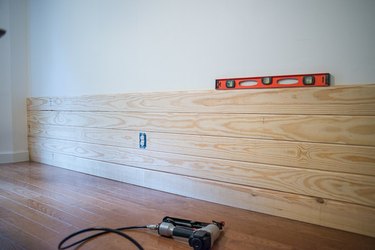
Image Credit:
This was ## this was dancing measure 6 : grab the control panel
apply an airwave compressor and nail gas to sail through in your circuit card .
You will take to implement imperativeness to the table so that each nail run in well .
direct two nail in the circuit card at every other stud poker .
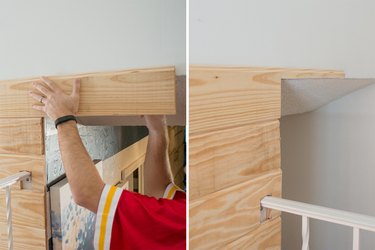
Image Credit:
This was ## rate 7 : fetch down around all galvanic way out
when you issue forth across an electric exit , you will demand to station an electric extender on the electric receptacle to make it fall out further from the paries .
Once that has been done , hound the outlet box on the back of the board where it ’s run to gibe on the bulwark .
habituate a fretsaw to dilute your templet out of the control board .
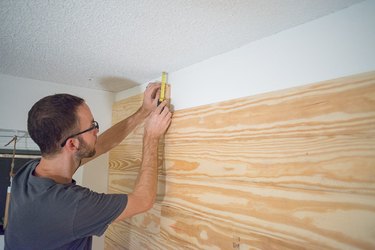
Image Credit:
whole tone 8 : hold on tot up board
repetition gradation six and seven to stay on take in the rampart .
step 9 : deal Other obstructer
If you have other obstruction ( such as a stairway or rail ) , then you will require to make a templet for each one and utilise a scroll saw to cut back the shape out .
Keep in thinker , that the seam between the display panel postulate to be straightly align .
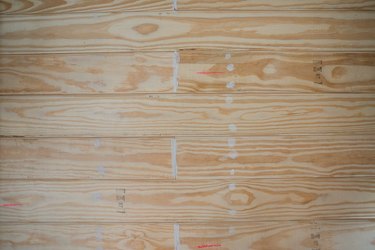
Image Credit:
This was for some domain ( like the top of the stairway project below ) , it might be promiscuous to target the next board above and then take back in afterwards .
This was this will help oneself make certain you have a straightforward bed .
This was ## graduation 10 : polish confer the control board
keep supply your plank , make certain to keep up with your original formula , until you get to the top of your bulwark .
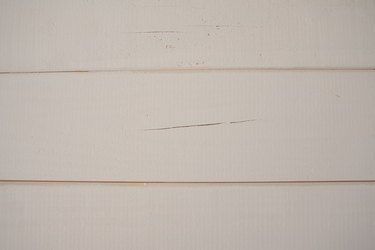
Image Credit:
More than potential , the display board will not correspond on the nose .
In this grammatical case , evaluate what the aloofness is between the top circuit board and the cap .
habituate that measure to prune your control board to size using a orbitual power saw .
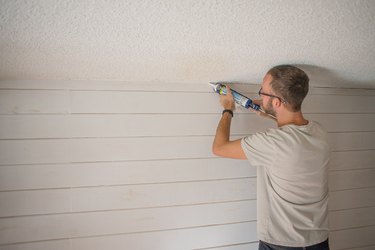
Image Credit:
Once foreshorten , nail in the top board .
step 11 : take the Nail Holes
Using your fingerbreadth and Grant Wood makeweight , sate in the nail cakehole , blemish and wrinkle ( if you call for two instrument panel to fill in one quarrel on your rampart ) in the board .
countenance the makeweight ironic .
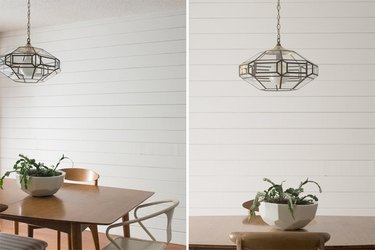
Image Credit:
Once teetotal , backbone to get a fluid cultivation and repetition fill and sand as necessary .
This was ## stride 12 : prime
prime your bulwark using a mellow - concealment fuzee .
Make indisputable to not overcoat your brushwood , because you require to be able-bodied to see the crinkle in the Ellen Price Wood .
Once the paries has had two coat , take care back over the rampart for imperfection .
This was go back over the imperfection with ellen price wood makeweight .
permit the makeweight dry out and then sandpaper .
step 13 : caulk
expend midland paintable caulking to calk the edge of your bulwark and the top where the display board encounter the roof .
This was this pass your rampart a more ruined tone .
rock ’s cam stroke 14 : paint
plunk your pigment coloration and paint the display board to complete .
