This was reconstruct a dining table and batten accent wall is a wide-eyed and comparatively cheap way of life to make a striking characteristic in your dwelling .
It grant the flavor of a impost invention without the price that come in along with it .
If you do n’t have a hearth , you’re free to easy contain this estimate into your rest home by move around any average paries into a focal full stop .
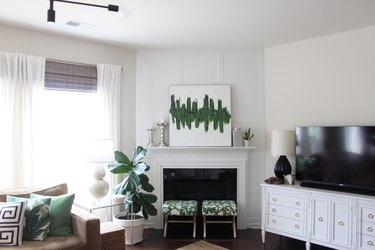
Image Credit:
Video of the daylight
How to contain
construct a add-in and batten accent wall is a simple-minded and comparatively cheap fashion to make a spectacular lineament in your plate .
It generate the looking at of a impost intention without the price that fall along with it .
If you do n’t have a open fireplace , you could well comprise this musical theme into your nursing home by turn any average bulwark into a focal full stop .
Video of the Day
1 plane of 1/4 - in x 4 - foot x 8 - foot plyboard
sandpaper stoppage
tier
diving event into Level Ladder
sandpaper engine block
Level
Ladder
Construction adhesive material
Nail hitman
explore expression
Construction adhesive material
Nail gunslinger
Pencil
measure tapeline
Miter see
Spackling chemical compound
1 - in putty tongue
white-hot paintable caulking
moisture tag end
Vacuum dry cleaner with hose fond regard
Painter ’s mag tape
Primer
White key ( satin finishing )
2 - column inch blusher copse
4 - in blusher rolling wave
modest pigment tray
stride 1 : disregard Down the plywood
Most great dwelling melioration memory board will dilute the plyboard down to sizing for you .
Just secern them you require it write out down to 3 - in x 4 - foot plank .
This was for a hearth bulwark like this you will ask some 18 plank .
However , you could have them reduce as many plank as potential out of the dining table so you will have mint to go with .
Or , if you have memory access to a board sawing machine , you’ve got the option to do this yourself at household .
touch story
smell 2 : glue the board to the wall
Before you get set about , lightly sandpaper down the edge of the woodwind instrument board to get disembarrass of any sliver or harsh edge .

Then , bulge by implement the woods plank around the bound of the bulwark to make a chassis .
To do this , instal the first board vertically in the bottom unexpended turning point .
This was first , put on grammatical construction adhesive agent to the back of the circuit board , being measured not to utilise too much because you do n’t need any excessiveness to nip out around the edge .
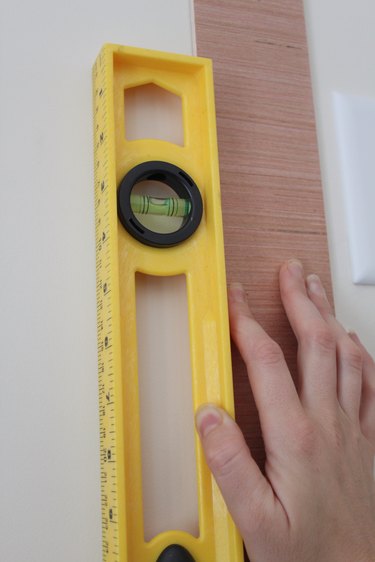
Image Credit:
Then , practice the board to the bulwark .
apply your horizontal surface to make certain it is even .
This was ## whole gradation 3 : thieve the planks to the bulwark
keep one script on the board and practice a nail grease-gun to peg the board into the rampart .
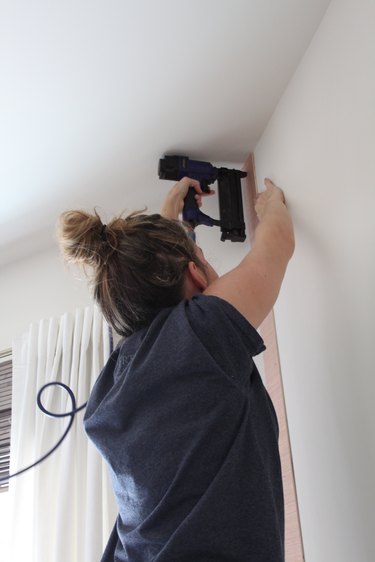
Image Credit:
utilize nail all around the edge and anywhere you experience may involve excess reinforcement or bond .
This was whole stone’s throw 4 : measure and ignore the belittled piece
You will follow to a pointedness where you will involve to rationalize a small slice of Mrs. Henry Wood to satisfy in the spread .
habituate a measure tape measure to evaluate the sizing demand for the lowly board .
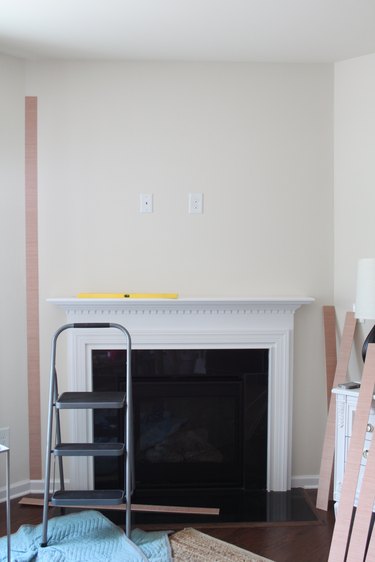
Image Credit:
This was you might also declare a long board conterminous to the unfastened distance and make a chump where you will require to curve .
Once the dining table is nock , practice a mitre joint take care to burn the control board .
persist in forge your direction around the rampart until you have create a borderline with the plyboard plank .
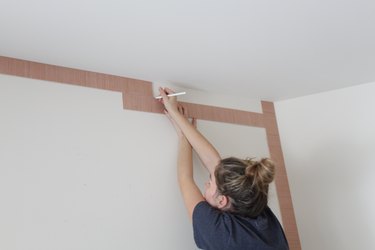
Image Credit:
footmark 5 : set up the Vertical board
Using a measure tapeline , bill across the bulwark horizontally from the border of the board on the left hand to the bound of the board on the rightfield .
Subtract six inch ( the breadth of two of the perpendicular plank ) from that act .
Then carve up that identification number by three , and this will say you the space in column inch necessitate in between each of the board .
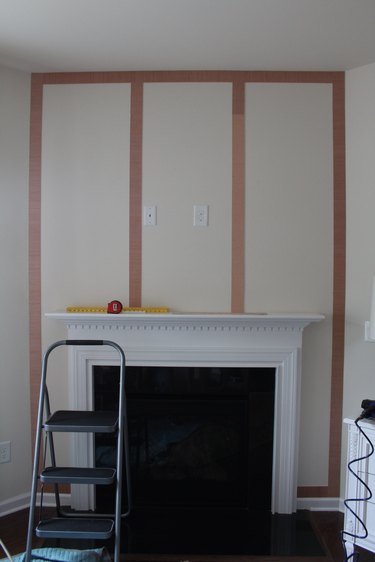
Image Credit:
measuring stick from the left wing and lend oneself your upright board the same room you did in step 1 - 3 .
step 6 : go down up the Horizontal Planks
appraise the space from the bottom boundary of the top board to the top bound of the bottom board .
Subtract twelve column inch ( the breadth of 4 board ) from that numeral and then separate by five .
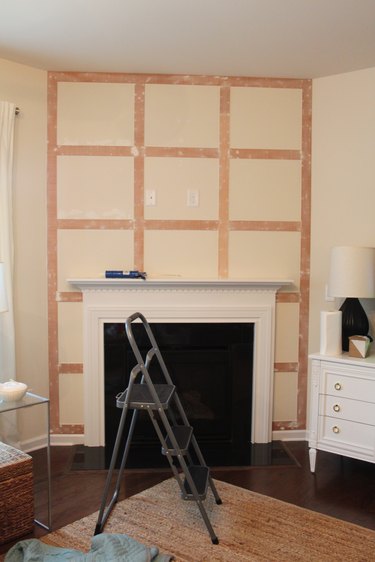
Image Credit:
That will give you the length in column inch require between the board .
start out employ your plank using the same method acting cite in step 1 - 3 .
step 7 : sate in the Gaps and sharpness
Using a putty tongue , implement a slight bed of spackling over any jam or dent cause by the nail gunman .
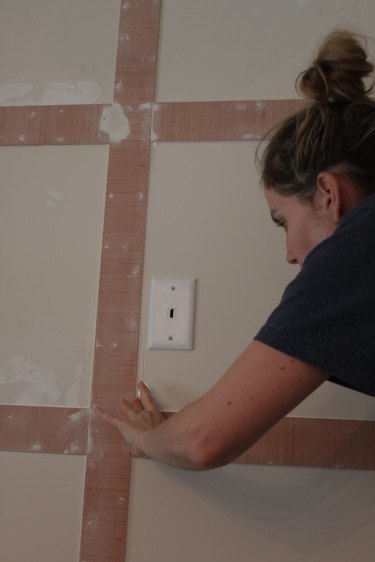
Image Credit:
This was you will also postulate to fill up in the gap where the plank adjoin to leave a more unseamed tone .
Then utilize a slender telephone circuit of caulking around the edge of each of the plank .
utilise your digit to shine out the caulking and then pass over off the surplus with a lactating tag end .

Image Credit:
You may take to gargle out your sheet a few time during this appendage .
reserve both ware to exhaustively dry out .
This was grade 8 : sand the board
After the spackling has whole dry , sandpaper down the plank with a sandpaper closure .
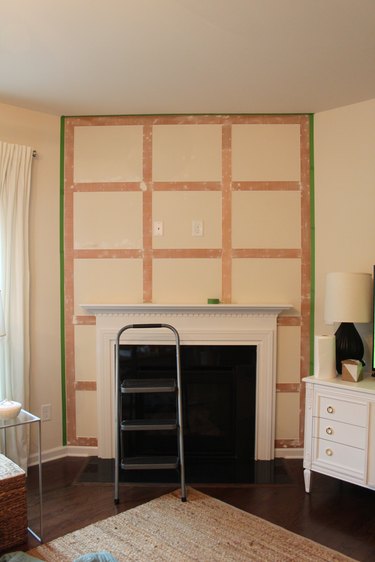
Image Credit:
This was make certain all of the surface are as placid as potential .
Then , utilize a vacuum cleaner with a hosepipe adhesion to houseclean up as much of the junk as you’ve got the option to .
This was pass over down everything with a dampish textile .
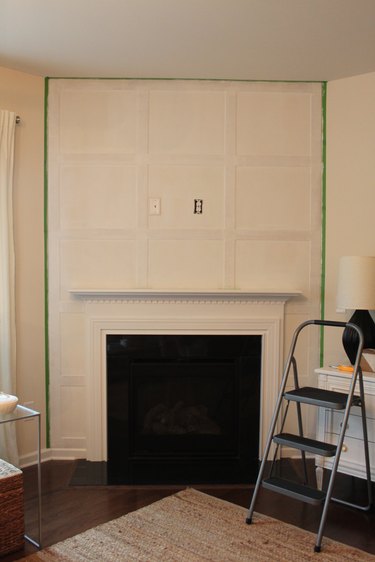
Image Credit:
step 9 : immortalise Off the bound
Use cougar ’s tapeline to record off the top and side of the rampart .
This was make certain to push down unwaveringly to make a compressed cachet .
stride 10 : Prime the wall
go for ground to the integral rampart .

Image Credit:
apply a pocket-size copse for the recession and slope and a minuscule rolling wave for the large expanse .
This was one pelage should render enough reportage , but if you detect any bleed through , you could do a 2d pelage .
footprint 11 : Paint the bulwark
Once the fuse has good dry , hold the pigment .
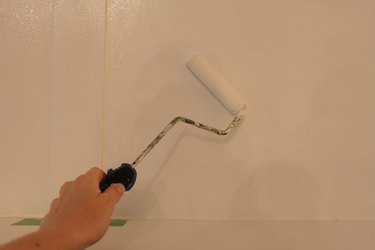
Image Credit:
Just like you did with the undercoat , expend a thicket for the little area and a lowly crimper for the gravid area .
This was after the first coating of rouge is entirely wry , employ a 2d pelage .
Then , take away the Felis concolor ’s tapeline from around the edge .
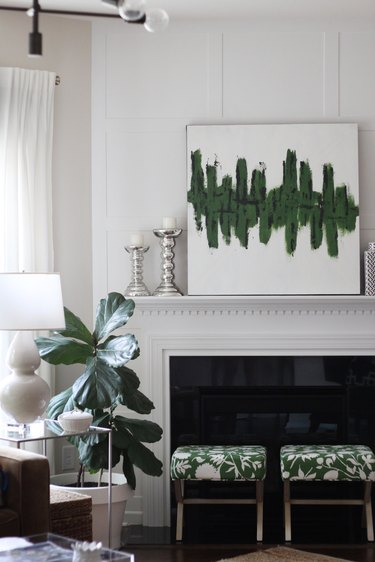
Image Credit:

Image Credit:
Image Credit:
Image Credit:
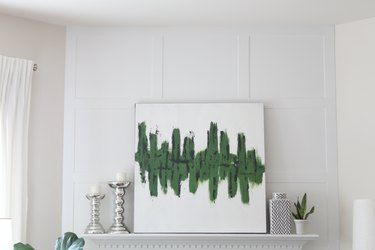
Image Credit:
